4 Simple Steps of a Daily Make-up Routine: Achieving The Korean Dewy look
Monday 29 June 2015
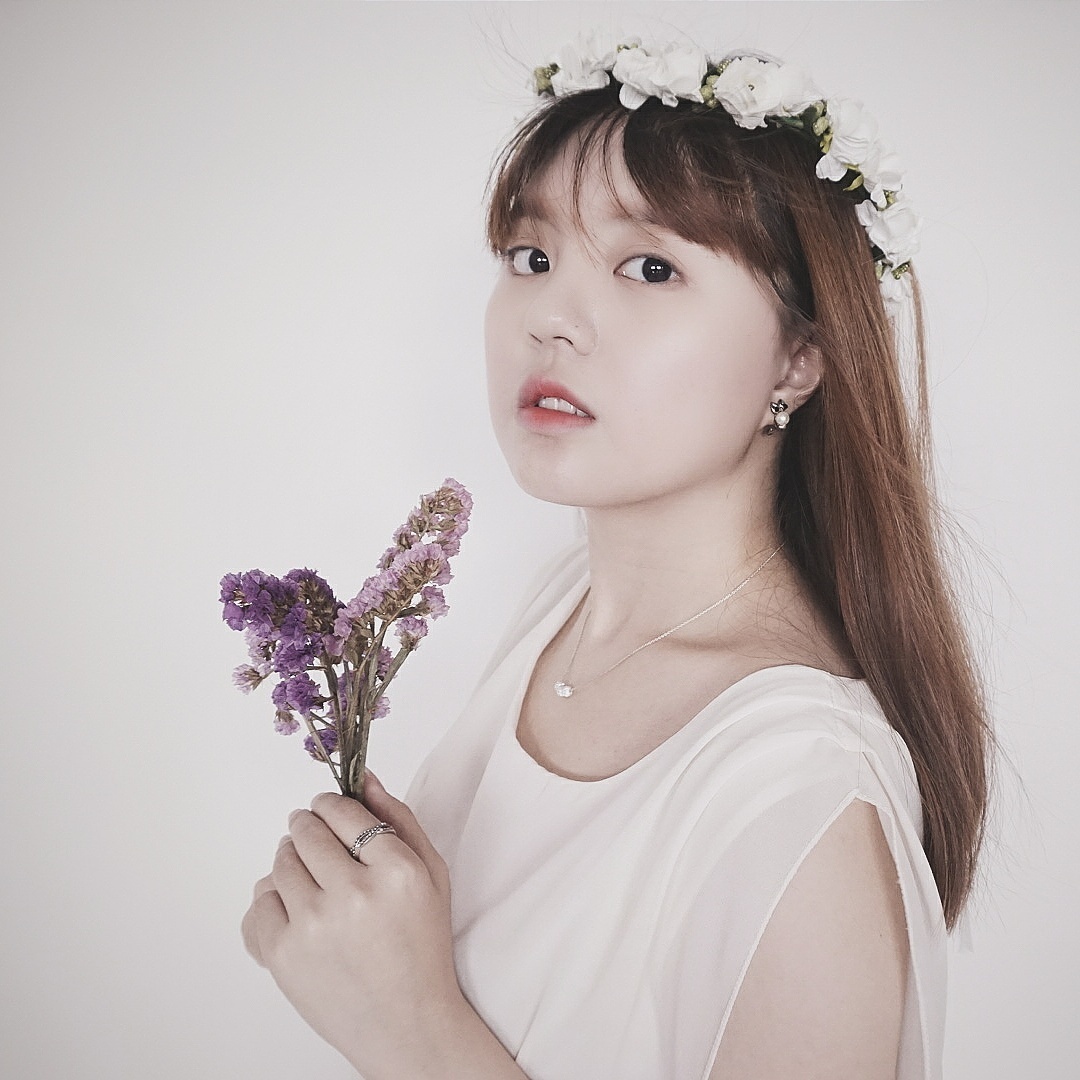
At some point of time, every girl wants to doll-up
HOW TO ACHIEVE A SIMPLE KOREAN DEWY LOOK IN JUST 15 MINUTES
4 STEPS ONLY! QUICK & EASY JUST FOR YOU!
If you are searching for a make-up routine that is very simple, quick & easy and last but not least, not heavy or fanciful, this is what I recommend you! This make-up is also suitable for "korean-wannabes" who are looking for a Korean dewy look.
Perfect for a poly or university student searching for a simple look, suitable for work & outings with friends too!
What you will need:
*CC stands for Colour Control
1. CC Cream Starter/Make-up base
(I am using the FACE it Aqua CC Starter from The Face Shop - Read review here)
2. CC Cream
(I am using the FACE it Aura Colour Control Cream from The Face Shop - Review to be posted up soon)
Note: This can be replaced with a BB cream, but I would suggest using a CC cream (to be explained further soon when I do a review.) as it is lighter and less thick. Foundation will make your face look cakey, however it is fine to use it on certain areas. (Some people use foundation to cover parts they don't want to "glow" so much)
3. Brown Eyebrow Pencil
(I am using the Browmaster Waterproof Eyebrow Pencil, 02 Dark Brown, from The Face Shop - no intention to do a review yet)
Note: The flat tip kind or any eyebrow kit works just fine. It's up to your own preference or just use what you have always been using)
4. Lipstick
(I am using the FACE it Lesson 03 Artist Touch Lipstick, PK102, from The Face Shop, review to be done soon)
Note: You can use any colour of your own preference, but I would suggest orangey pink to pinkish red if you are going for the Korean look,
Before you put on your make-up...
Make sure that you have already thoroughly cleansed your face and carried out your daily skincare routine. If not, at least be sure to put on your toner and moisturiser AFTER cleansing.
The skincare products I use in my routine make my face a little glowy even before putting on any make-up, so the CC cream acts like a finisher for me in terms of brightening my face complexion and slightly reducing any redness or blemishes.
So now let's get started!
You can scroll down to watch my video instead, or read the steps written here.
Step 1:
After applying your usual toner, moisturiser and whatever extra goody products you may have, let them set in for about 5 to 10 minutes. (If you have the time then 15 minutes). This is to let your skin absorb whatever they need to first before any make-up "erases" them off.
When that is done, start by using the Aqua CC starter - apply it all over your face and neck. You don't need to squeeze out too much of an amount, just a little 1 - 1.5cm size of amount is good enough.
Note: You can use it as a finisher (after your usual skincare routine) without the CC cream if you think that it is sufficient for your look or complexion. (Highly recommended to use this make-up base before the CC cream as it keeps your face hydrated and moisturised.)
Step 2:
Apply CC cream all over your face and neck, make sure to blend them properly and evenly. When you're done, dab some cream on the contours of your eyes, near your bottom eyelids as well as on your top eyelids. (See video for clearer reference)
This helps to brighten up your eyes and make them look more refreshed.
(The CC cream acts as an eye concealer for me, but you can top it off with a concealer if you think that your dark circles need further coverage)
While you're still at this step, dab some CC cream around your lips and its corners as well.
(You will find out why later on in Step 4)
Step 3:
Draw your eyebrows! If your eyebrows are perfectly thick and flawless, you can skip this step. For people (like myself) who needs to darken your eyebrows, you can do it the way you like. (Thumbs-up for straight eyebrows because it makes you look more like a Korean!)
Beginners can look for a better explanation online on how to draw perfect eyebrows - dont worry, everything starts out weird, but practice makes perfect, right!
Step 4:
The very last step is applying your lipstick.
You can apply a thin layer of lip balm before your lipstick (it is good as it keeps your lips moisturised)
Dab/stain your lipstick onto the inner parts of your lips at the center (It need not be a thick layer - you can make necessary additions if required later on)
So now, use your fingers and spread out the "stain" across your lips. (You can smudge them by closing your lips and rubbing them together slowly)
Remember in step 2? I said to dab some CC cream around your lips... This is to enhance the colour of your lipstick and make them look less fuller and look gradient.(Just like Koreans!!!)
After which, finish up by dabbing a little bit of CC cream at the corners of your mouth and under your bottom lip. This helps to make your lips look more defined and thinner. You can replace this step with a concealer. You can dab a little bit of CC cream or concealer around areas you want your lips to look more gradient or defined.
NOTE:
YOU CANNOT MISS THIS STEP OUT.
(Unless you are saying that you are allergic to lipsticks, or simply hate it to the core... But I guess it's fine if you have a naturally beautiful & pinkish lips)
Why? Of course, it's a very trendy style of Korean's make-up these days. But it also adds colour & "life" to your face.
Trust me, girls look beautiful with lipstick. You can choose a lighter shade for a simple & gentle look, a darker one for a bolder look. Whatever it is, lipsticks are a must-have in every girl's bag, home, dressing table. Even pocket. Even if you don't put on make-up, at least put on a lipstick - you'll see how different & lively you look!
Now... If you are still unclear, simply click "play" on my video below:
(Though, it is not a very detailed tutorial with regards to explanations.)
With that, I hope you enjoyed this tutorial and learnt something useful!
Subscribe to my YouTube Channel here for more updates & don't forget to like my video!


No comments:
Post a Comment